We are on holidays here for two weeks and it has been the nicest time. Sleeping in, lots of cuddle time and then into the cleaning, though today is all about friends so that gives me some of my time. And I have quite a few Easter things still to show you so I better get going. Here is a little bag that is so sweet and I am pretty sure that I have cased it from Chic 'n Scratch and of course she has tutorials on everything she makes but I have just done up a quick one...

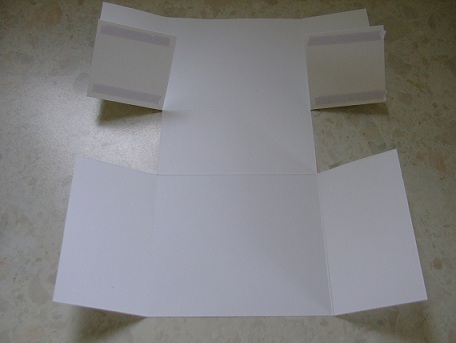
Dsp or Whisper White card 8" x 5 1/2" scored at 2" on 3 sides - 2 long sides and 1 short.
Pink card or Dsp 4 1/8" x 3 1/8" - put through scallop punch on both sides and score in half.
Attach the bottom of box together first - placing one flap over another.


 .
.How easy is that to make and you have enough room to fit chocolates or a little present in.
Stamp set: Everybunny
Card: Whisper white, pink pirouette
Ink: Pretty in pink, chocolate chip and water crayons
Acc: Whisper white ribbon and twine
Tools: Scallop eyelet border punch, small oval and lge oval punches and crop-a-dial
thanks for stopping by......
Wow this is such a gorgeous little gift bag. I so have to make one of these. Love the way you've decorated it with all those lovely little mushrooms.
ReplyDeleteLucky you to be on hols already - another two weeks of school for us. Lol we'll be starting holidays when you go back. How silly.
x